Dads, it’s time to step up and show off your superhero skills by learning how to change a tire like a pro! Whether you’re an experienced dad or about to embark on this journey for the first time, we’ve got you covered with this step-by-step guide.
Step 1: find a safe spot
Safety first, dads! Before you dive into changing that flat tire, make sure you find a safe location away from traffic. Look for a flat surface where your vehicle won’t roll or jolt unexpectedly.
Step 2: gather the tools
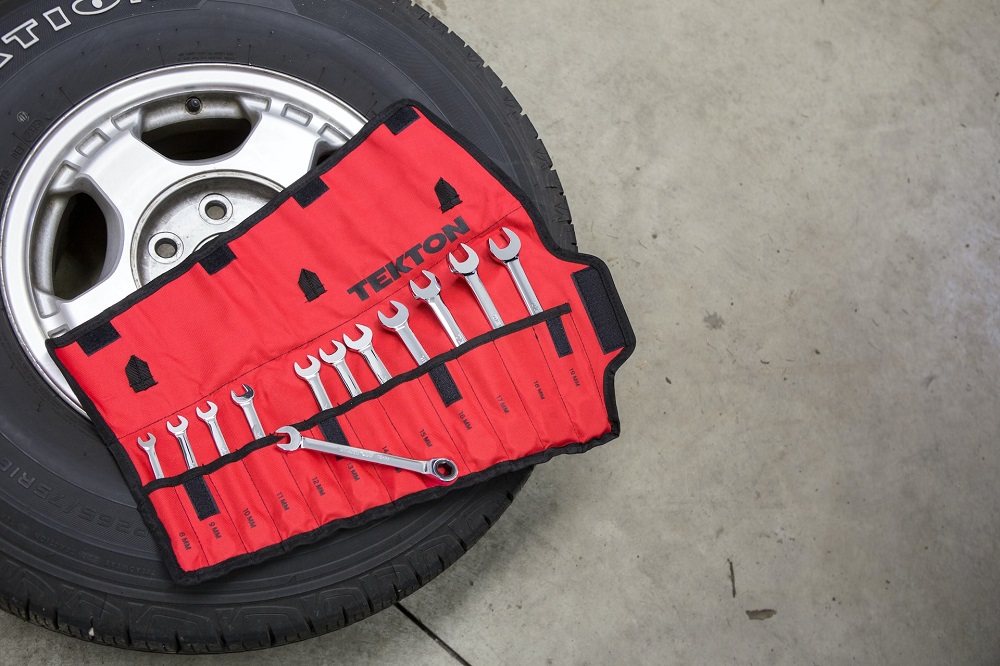
Every superhero needs their trusty utility belt, and you’ll need some tools too to change a tire. Make sure you have these essentials on hand:
- Tire iron/wrench
- Jack
- Spare tire (properly inflated)
- Flashlight (in case it’s dark)
- Gloves (to keep your hands clean)
Step 3: Loosen the lug nuts
Time to flex those muscles, dads! Use your tire iron/wrench to loosen the lug nuts on the flat tire. Remember, “lefty loosey, righty tighty” applies here. Give those nuts a good turn, but don’t remove them just yet.
Step 4: Jack it up
It’s time to get jacked! Position the jack under the frame of your vehicle, near the flat tire. Carefully pump the jack until it lifts the car off the ground. Make sure you’re following your vehicle’s manual or instructions for proper jack placement.
Step 5: Remove the flat tire
This is where the real magic happens, dads! Unscrew and remove those lug nuts all the way and set them aside safely. Gently pull out the flat tire and place it aside.
Step 6: Mount the spare tire
Grab that spare tire like you mean it, dad! Line up the holes on your spare tire with those on your car’s axle. Carefully slide it onto the bolts and push until it’s snug against the axle.
Step 7: Tighten those lug nuts
You’re almost there, dad! Put those muscles to work once again and tighten those lug nuts by hand as much as you can. Then use your trusty wrench to give them that extra bit of torque.
Step 8: Lower your vehicle
Gently lower your vehicle back down to the ground using the jack. Make sure all four tires are firmly on the ground before removing the jack completely.
Step 9: Give it a final tightening
One last round, dad! Use your wrench to give those lug nuts one final tightening. Remember, safety is key!
Step 10: Pack it up and Celebrate!
You did it, dad! Pat yourself on the back and pack up your tools. Don’t forget to stow away that flat tire too.
Captain Tire Changer
Now you’re ready to hit the road once again, knowing that you can handle any flat tire situation like a true superhero dad! Don’t be surprised if your kids start calling you “Captain Tire Changer.” Happy driving!


